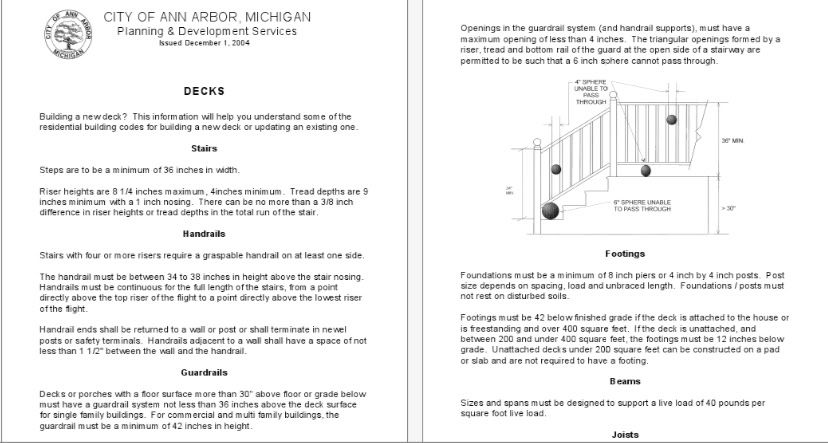
I have to say that when we first decided to build a deck, I thought it would be pretty easy. I mean, all you have to do is nail some boards together, right? Wrong. Building a deck, especially if you follow all the city's rules, can be kind of complicated. For example, take a look at page 1 and 2 of the deck building guidelines, provided by the city:
Pages 3, 4, and 5 get even more complicated. For example, you have to make sure your deck can support 40 lbs of live load per square foot. How do you figure that out? Well, you first have to find out what type of soil you have. Given the same surface area, clay can support less weight than sand or gravel. So if you have clay, you need to put in wider diameter footings than if you have sand or gravel. Or, you can just put in more footings per area supported. And you need to space the joists depending on their dimensions and the type of wood. That's right, you have to know what type of wood you're buying. Anyhow, I'm sure you're bored to death by this point. To make a long story shorter, after a lot of reading on the internet and an old issue of Decks magazine (provided by my mother), I came up with a plan. I know it doesn't look like much, but I re-drew it at least 5 times. I then had to take this plan to the City Planning and Development office to get it approved. I was nervous. I had to sit in the waiting room while The Guy looked at it. I felt like I was back in college on test day I had so many butterflies in my stomach. But it was approved! (Note the comment in the upper left corner)
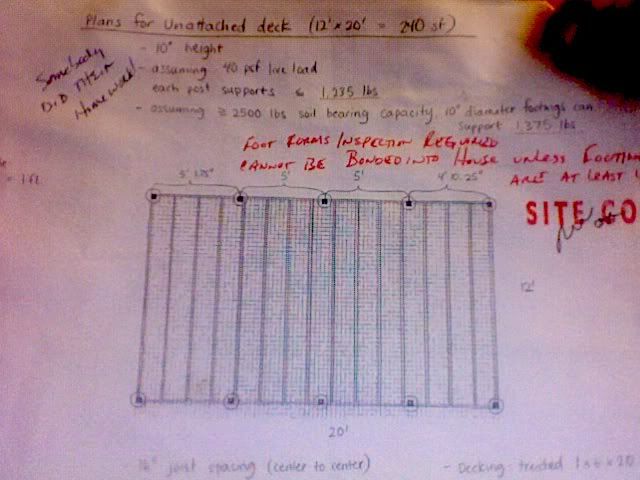
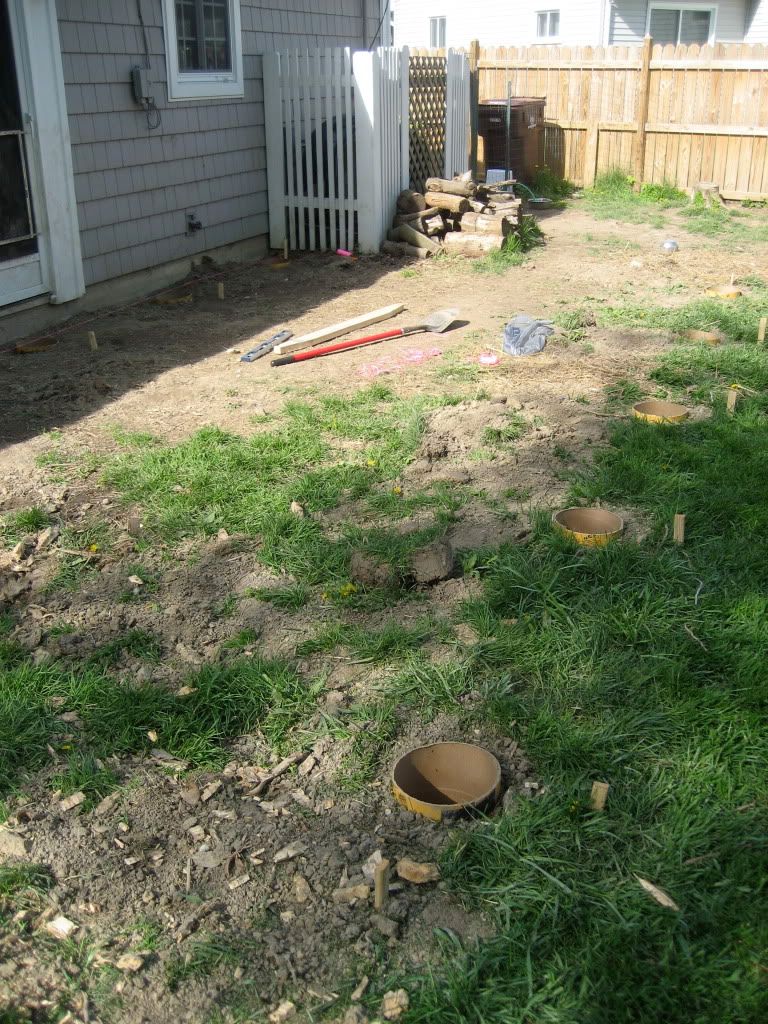
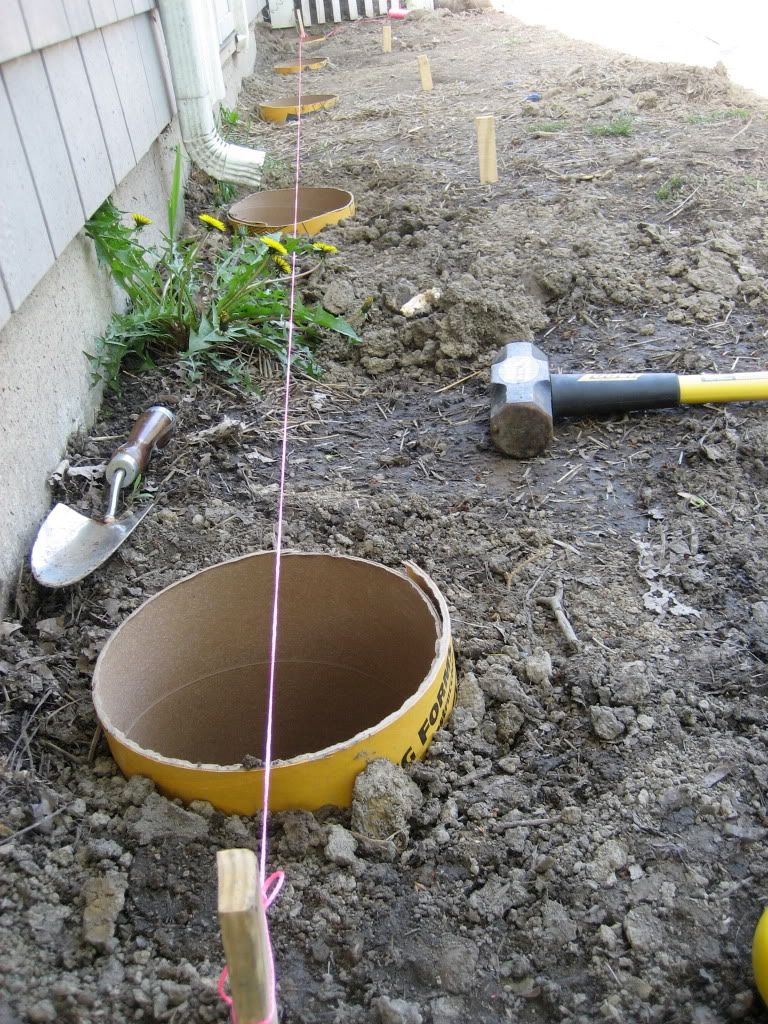
Once I had the plan approved, I had to pay $50 to get a building permit. Awesome. And then, FINALLY, we got to start building. Step one was to pour cement footings. This sucks. I recommend making someone else do it if you ever want to build a deck for yourself. First off, my Plan called for 10 inch diameter footings. Lowe's only sells 12 inch or 8 inch diameter footing forms (see here if you don't know what footing forms look like). So I bought the 12 inch, cut them down the side, and then duct taped them into 10 inch diameter. After I dug the appropriate holes and put the footing forms into them it was time for inspection #1.
The footing placement was approved and then the fun began--filling the holes with cement. I hate cement. Not only did the cement work suck, but it was really hard to make sure the top of all the footings were at the same level. I had to go buy a 12 foot 2x4 to stretch between footings to check level.
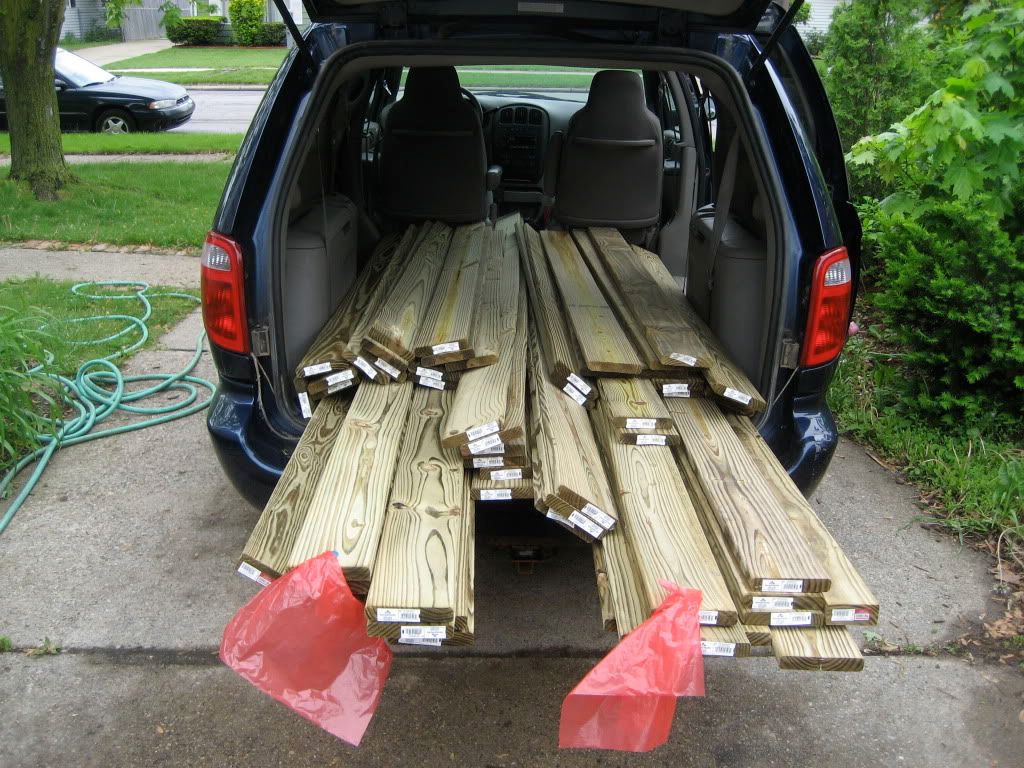
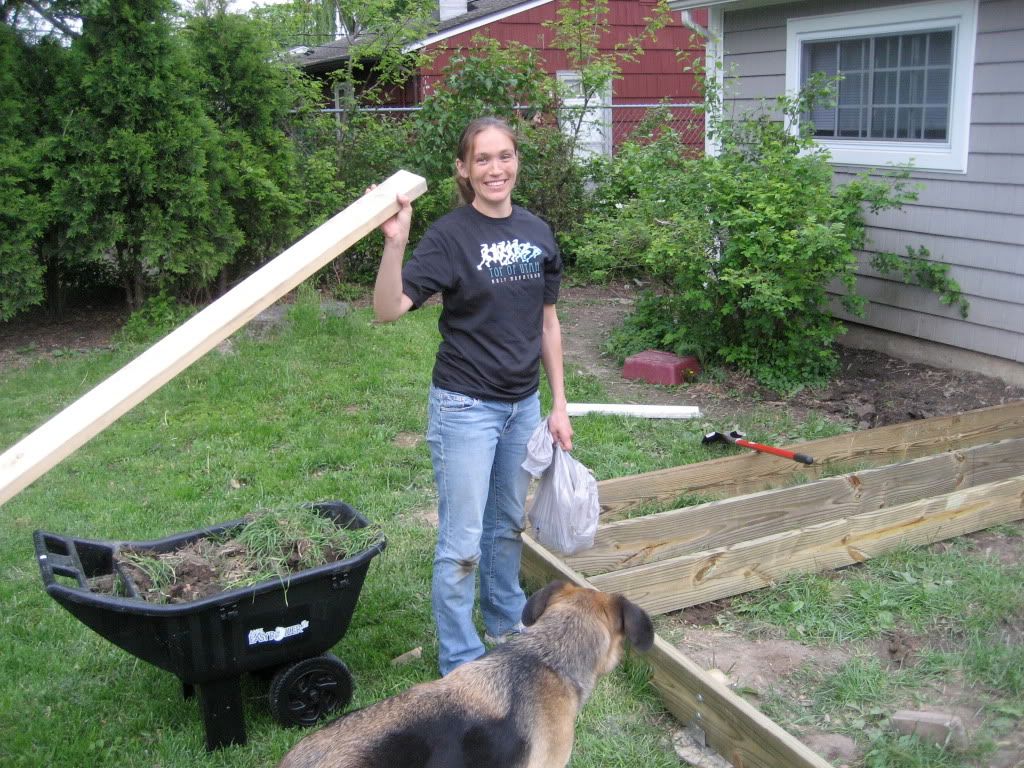
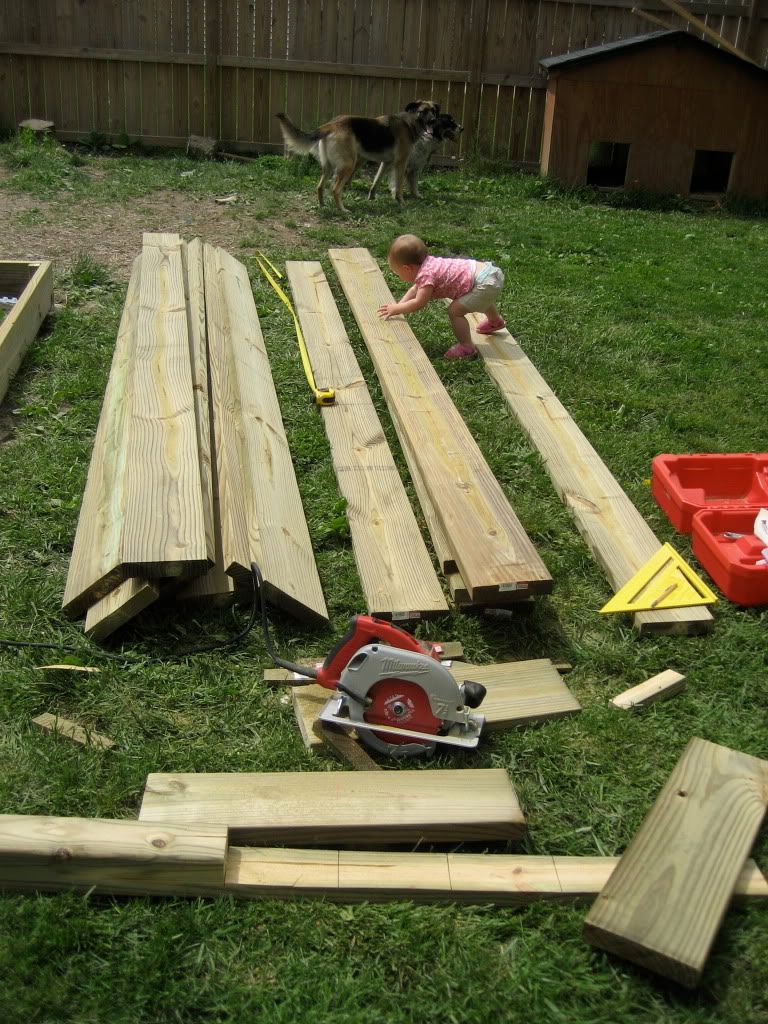
After the footings had dried, we made yet another trip to Lowe's and bought the fun stuff--lumber.
Making the frame for the deck was tricky only because it's important to make it square and level. An additional complication is that our deck rests right on the footings. Normally, deck posts are 4x4's or 6x6's notched at the top to hold the frame. Since there is no space between our frame and the footings, the only part of the 4x4 we needed was the notched part. So basically we needed 2x2's which don't exist at Lowe's. So I had to cut the 4x4's into 2x2's.
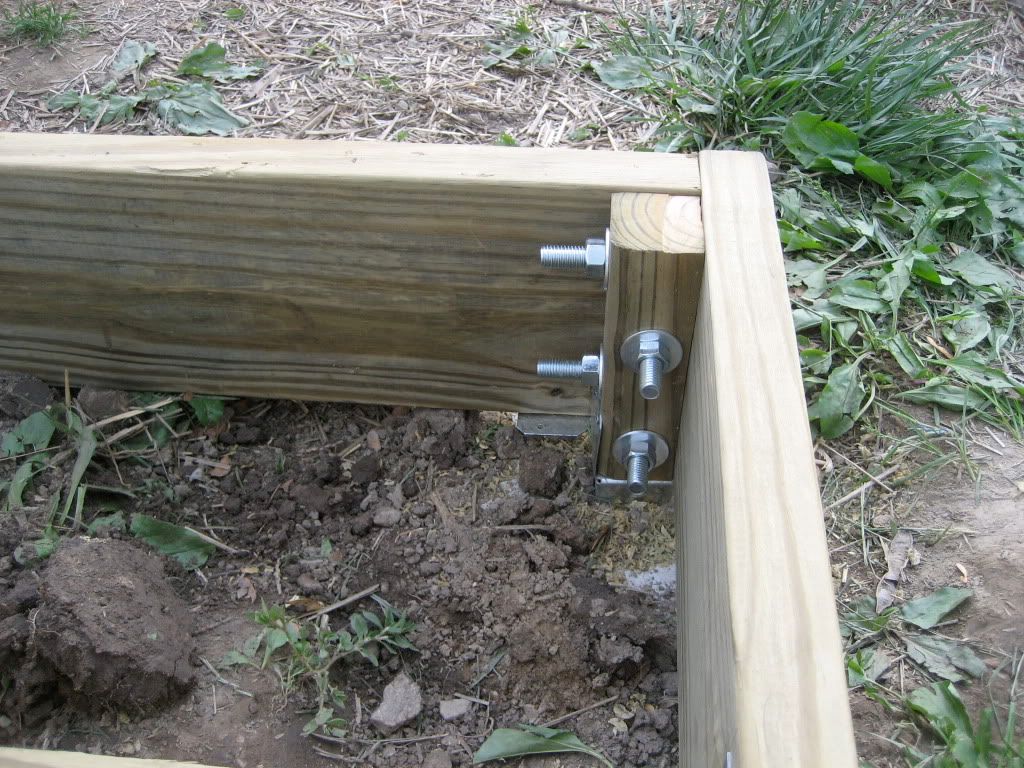

Those bolts you see in that first photo? They were a ROYAL PAIN IN THE PATOOTEY to put in. Just drilling the holes took forever--turns out wet, treated lumber is harder to drill through. I almost had an embolism on the last one. Thankfully Alex stepped in and saved me. The only other real difficulty was that it turns out one of the corner footings was off by a few inches. Oops. Not bad enough to redo it, but annoying.

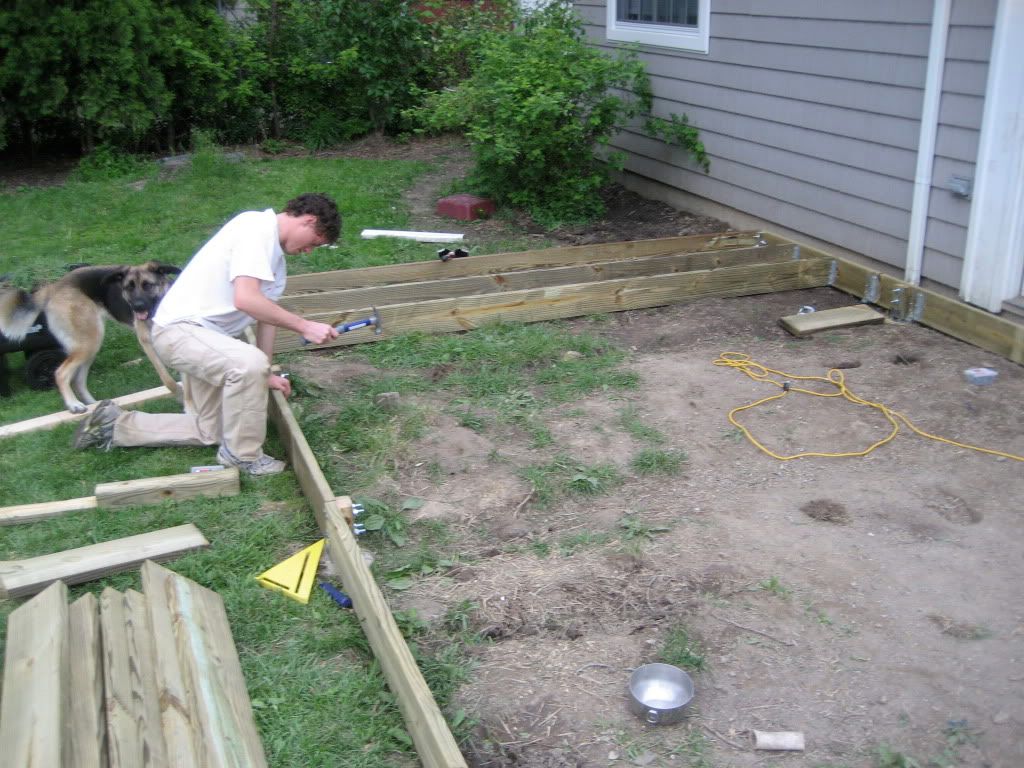
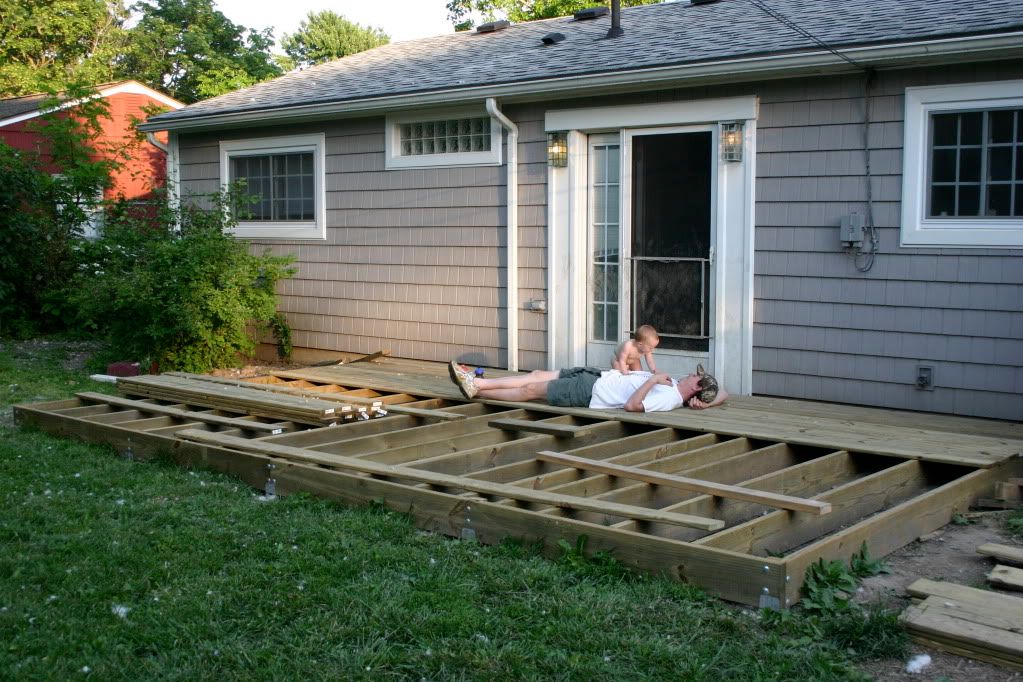
Once the outer frame was done, we started putting in the joists. That was fairly easy once I figured out a method for getting the right placement for the joist hangers (so that the top of the joist was exactly even with the outer deck frame and the joist itself was straight up and down). The one annoyance was that we had to dig out the area that would eventually be under the deck so that the joists weren't sitting on the soil. Most of what we dug out was old hay from the dog house but the rest was grassy roots and clay. Really fun digging.
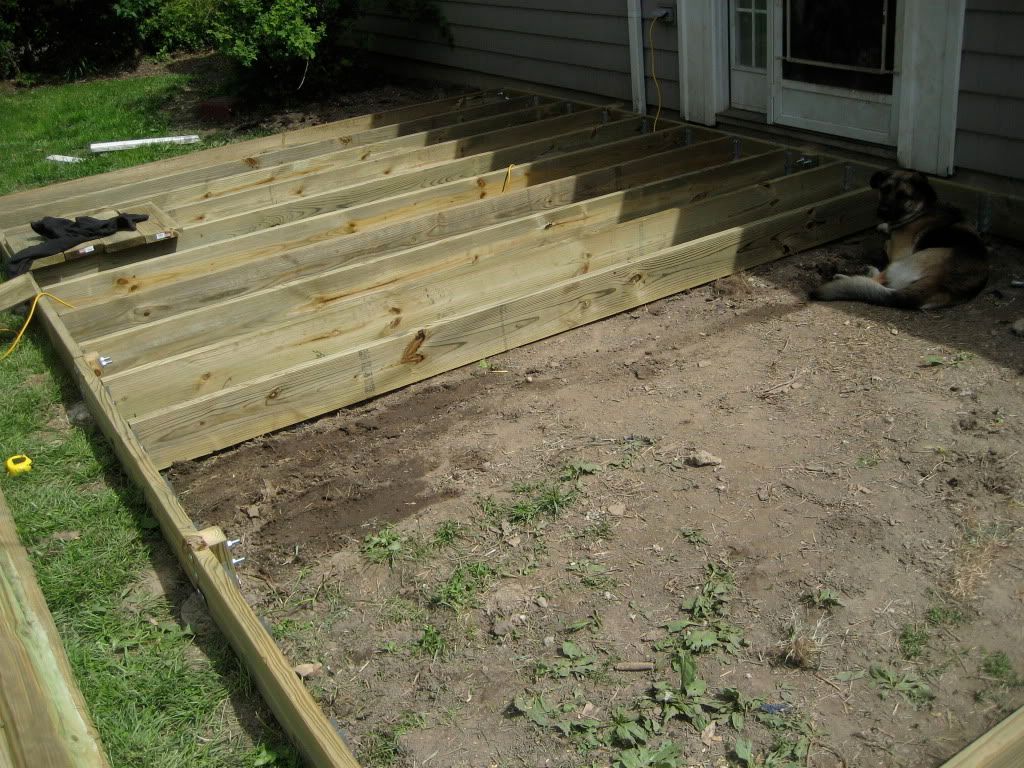
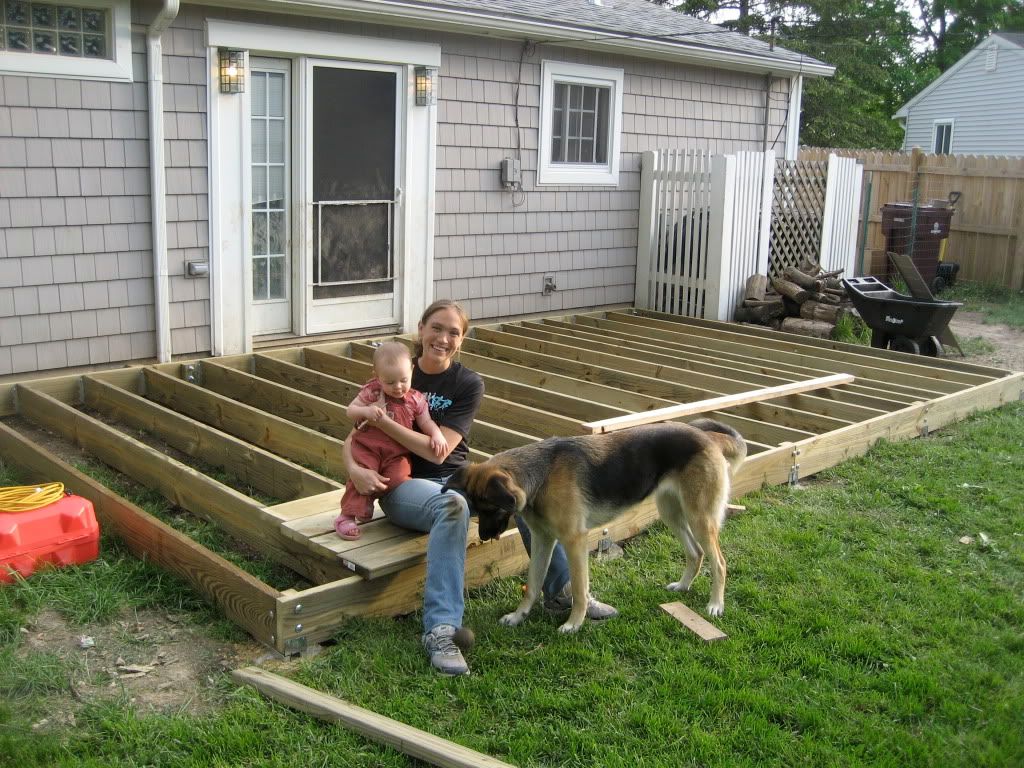
Once the frame was built, on to the decking. We thought this would be the easy part, but it really takes forever to nail in decking. Sooooo maaaaanny naaaaiiiilllss.
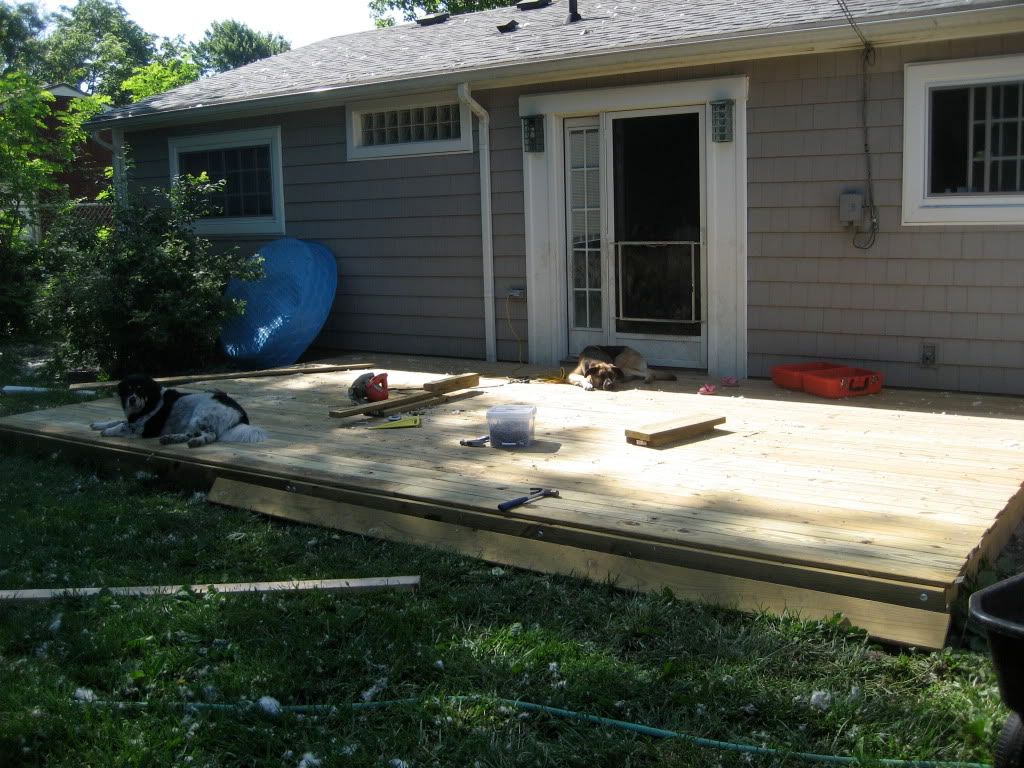
Finished at last! But then we had a party and found out that it is really annoying to try to keep babies on the deck and dogs off the deck. So we went back to the drawing board and decided to add a railing.
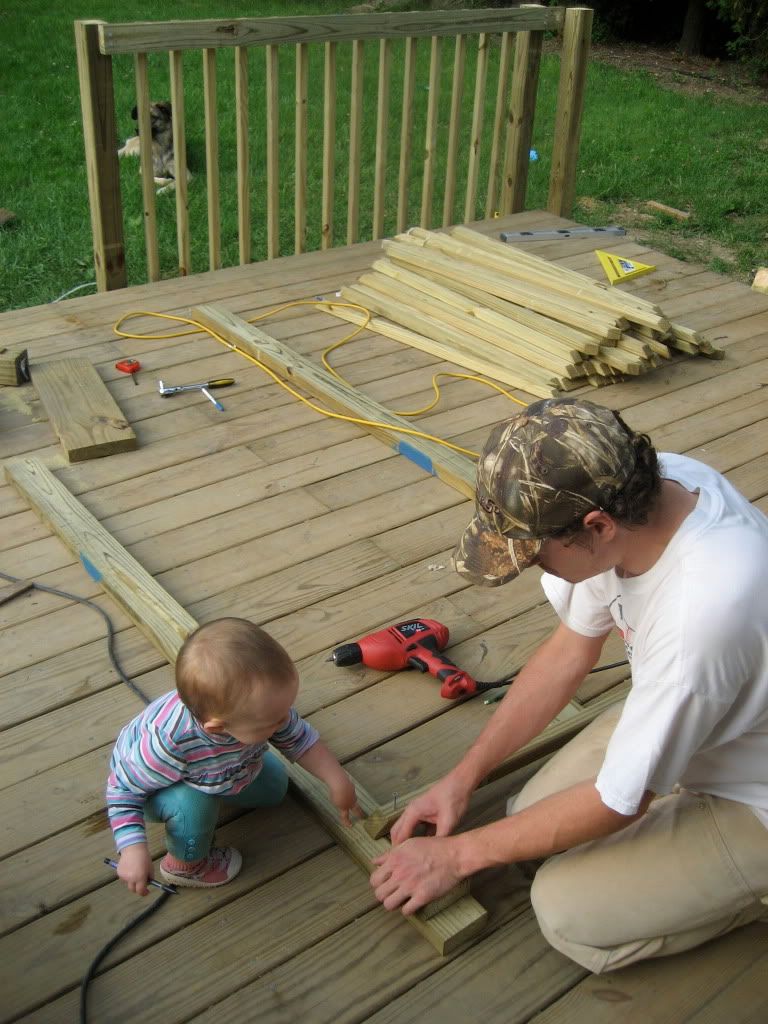
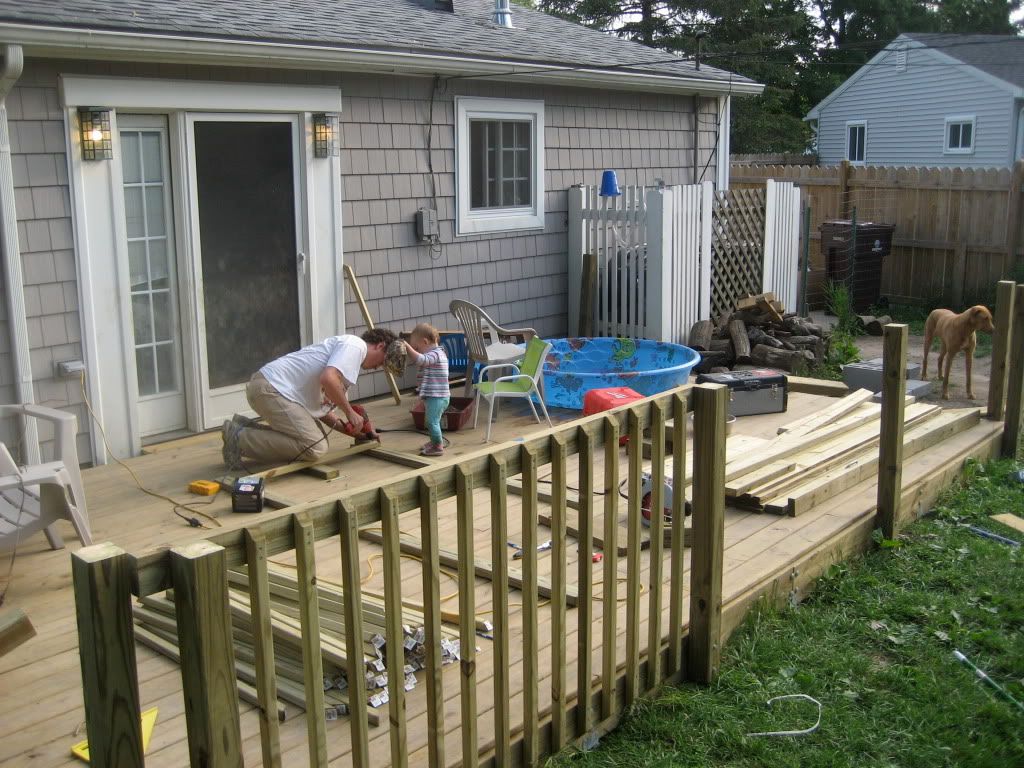

NOW, it's finished. Except we have to stain it and add a gate...
Here's a little slideshow of the beginning to end.
4 comments:
Very very very impressive. Very. You never cease to amaze me. I think the railing is a nice touch. And if I ever build a deck I'm flying you out to do it for me. =)
Ouch. My head, arms, shoulders and back all hurt just reading this. However, since I get to enjoy the deck either personally with a beer in hand or via Rowan, I'm sure glad you did it.
I AM duly impressed. This is a very nice deck. Now...I want to build a 10x20 shed in the back yard. I'd love to have someone who has experience helping me....?
Wow. That looks awesome! Your amazing Suz.
Post a Comment